


Installing ODBC
Installing ODBC support is a two-stage process. First, you install ODBC support to
WordPerfect. Second, you install the ODBC drivers to your operating system
(Windows 3.1x, Windows 95, Windows NT).
 Checking for ODBC support |
Installing Database Support
You install database suppport running WordPerfect or Perfect Office Professional Setup and checking the "database import" WordPerfect option. Installing database support to WordPerfect is only the first part of the installation procedure. You must still install ODBC within the operating system.Installing ODBC
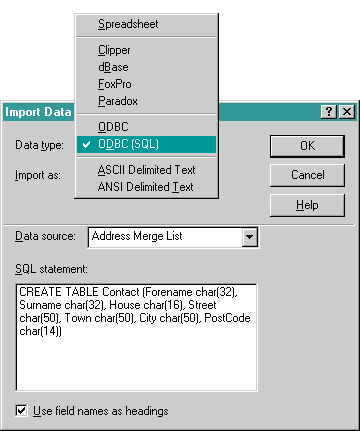
The procedure for installing ODBC is essentially the same in Windows 3.1, Windows 95 and Windows NT. You can download the Microsoft ODBC driver kits from the Microsoft Support web site (http://support.microsoft.com/) or from the Microsoft FTP software library (ftp://ftp.microsoft.com/Softlib/). Each driver pack includes instructions for its installation.Setting up an ODBC source
To create an ODBC source:- In the Control Panel, double-click the ODBC (or ODBC32) icon.
- Click Add. The Add Data Source dialog box appears.
- Select the required driver and then click OK.
- The Data Source setup dialog box appears. This dialog differs for each data type and so the instructions below assume that your data source uses the Microsoft Access 32-bit driver.
- Enter a data source name and description in the appropriate fields.
- If the database exists, click Select and then select the database file. Note that, for secured databases, you also must select the correct system database and enter your logon particulars (accessed from the Advanced button).
- If you wish to create a database, then click Create. Enter the name of the file you wish to create.
- Click OK in each dialog box to complete adding the data source.
You should now be ready to work with the data in WordPerfect.
Index | About ODBC | Installing ODBC | Interacting with the data | SQL Syntax | Macros
© 1997 – GJC Technical Ltd. Last
updated on 21 June 1997
Please email any comments about this site to webmaster@gjctech.co.uk.